Deploying React Native/Expo Apps to the Apple App Store

By Vantol Bennett
Author
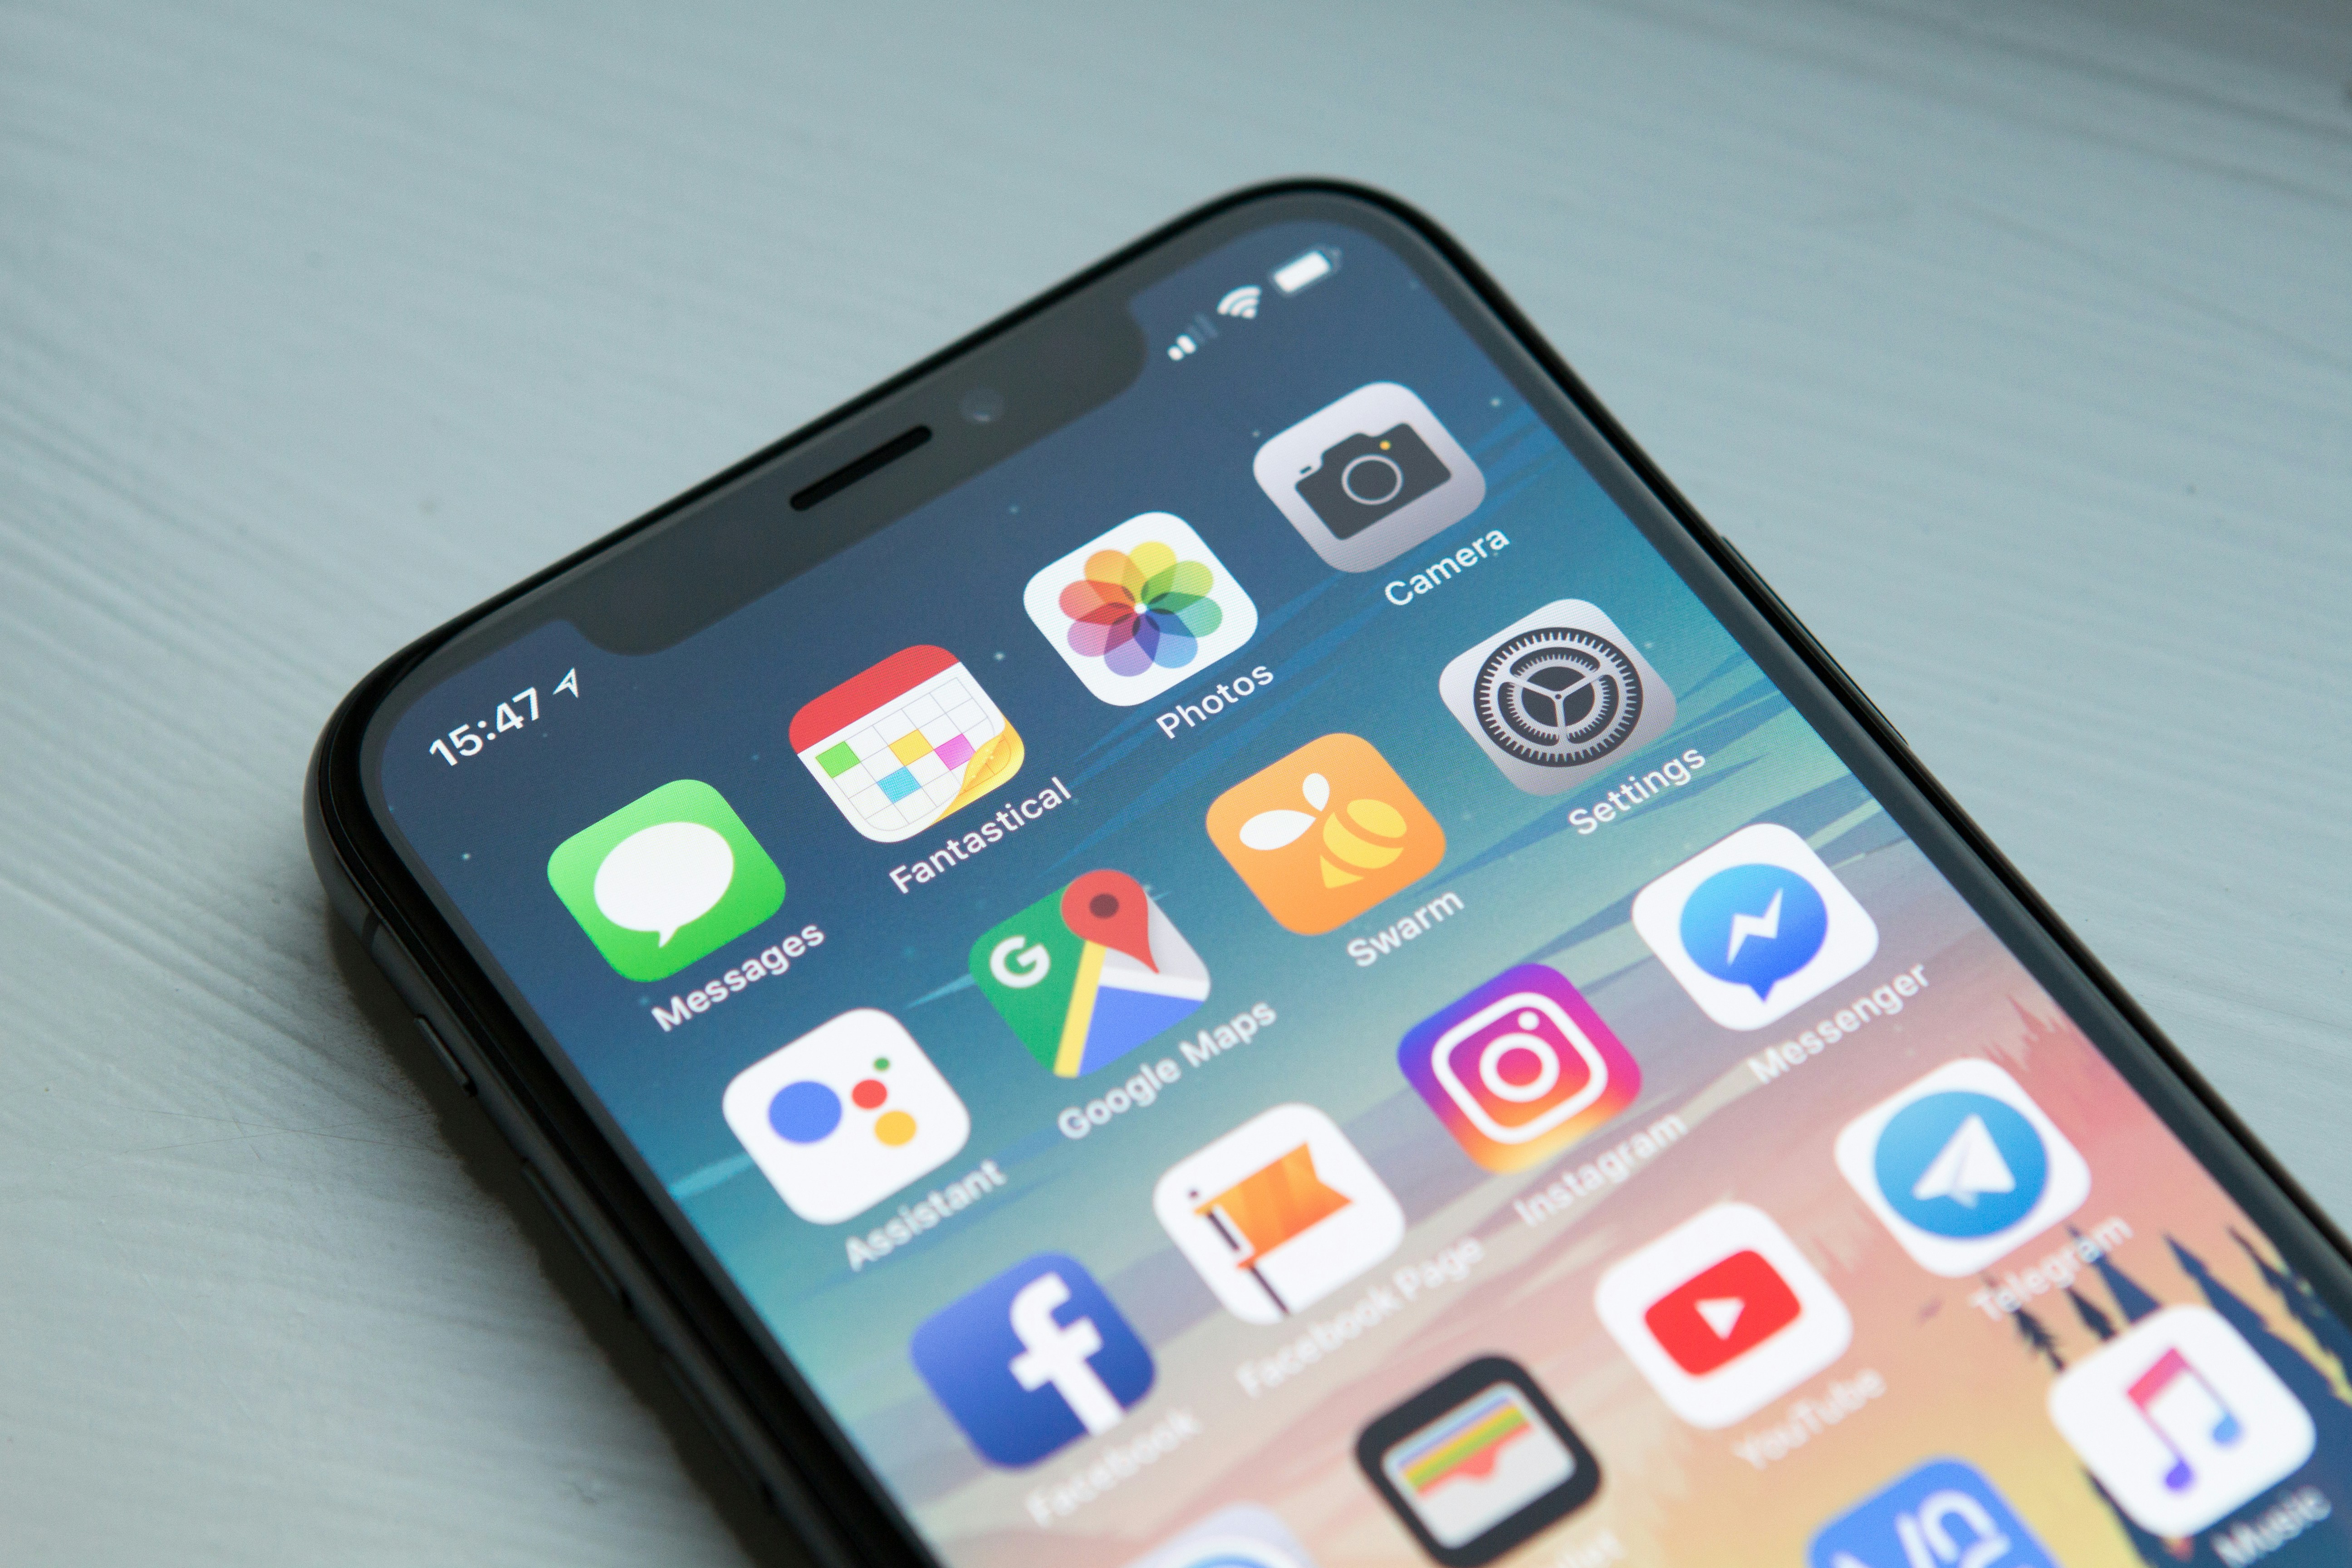
Deploying React Native/Expo Apps to the Apple App Store
Introduction#
Deploying a React Native or Expo app to the Apple App Store can feel like a daunting task, especially when you're coming from a web development background. The process involves understanding Apple's ecosystem, setting up development accounts, configuring build configurations, and navigating the App Store Review process.
In this comprehensive guide, I'll walk you through the entire deployment journey, from setting up your development environment to submitting your app for review. Whether you're a seasoned developer or just starting with React Native/Expo, you'll learn everything you need to know to get your app on the App Store.
Table of Contents#
- Setting Up Your Apple Developer Account
- Configuring Your Project for iOS
- Setting Up Code Signing
- Preparing for App Store Submission
- Submitting to the App Store
- Post-Submission and Maintenance
- Troubleshooting Common Issues
- Conclusion
Setting Up Your Apple Developer Account#
Before you can deploy to the App Store, you need an Apple Developer account. There are two types:
- Free Account (limited to testing on up to 100 devices)
- Paid Account ($99/year, full App Store access)
For production deployment, you'll need the paid account.
Required Assets#
When you purchase your Apple Developer account, you'll need to set up:
- Apple ID (your primary account)
- Team ID (automatically generated)
- App IDs (for your specific applications)
- Certificates (for code signing)
- Devices (for testing)
Getting Started with the Developer Portal#
- Visit developer.apple.com
- Sign in with your Apple ID
- Navigate to the Certificates, Identifiers & Profiles section
- Create your team if you haven't already
Configuring Your Project for iOS#
Once you have your Apple Developer account set up, you need to configure your React Native or Expo project for iOS deployment.
Project Structure#
For React Native projects using the default configuration:
my-app/
├── android/
├── ios/
├── package.json
└── App.js
For Expo projects using managed workflow:
my-expo-app/
├── app.json
├── package.json
└── .gitignore
iOS-Specific Configuration#
React Native (Bare Workflow)
If you're using React Native's bare workflow, you'll need to manually configure the iOS project:
- Update Info.plist
- Configure entitlements
- Set up capabilities
Expo (Managed Workflow)
Expo makes iOS configuration much simpler. Most settings are handled through app.json:
{
  "expo": {
    "name": "My App",
    "slug": "my-app",
    "version": "1.0.0",
    "orientation": "portrait",
    "icon": "./assets/icon.png",
    "userInterfaceStyle": "light",
    "splash": {
      "image": "./assets/splash.png",
      "resizeMode": "contain",
      "backgroundColor": "#ffffff"
    },
    "ios": {
      "bundleIdentifier": "com.yourcompany.yourapp",
      "buildNumber": "1"
    },
    "android": {
      "package": "com.yourcompany.yourapp"
    }
  }
}
Setting Up Code Signing#
Code signing is Apple's way of ensuring your app hasn't been tampered with. This is a critical step in the App Store submission process.
Generating Certificates#
- App Signing Certificate
- Generate a certificate in the Developer Portal
- Download and install it in your Keychain
- Provisioning Profiles
- Create app-specific provisioning profiles for development and distribution
- These profiles associate your certificates with your app and devices
Code Signing in React Native#
For React Native projects, you'll need to configure code signing in the ios/ directory:
- Locate your project.pbxproj file
- Update the development team
- Configure code signing identity
Code Signing in Expo#
Expo handles code signing automatically for you. The main configuration is in app.json:
"ios": {
  "codeSigningCertificate": "YourCertificate.pem",
  "codeSigningMetadata": {
    "publicKeyHash": "your-public-key-hash"
  }
}
Preparing for App Store Submission#
Before you can submit your app to the App Store, you need to ensure it's ready for review.
App Store Connect Requirements#
Your app must meet several requirements:
- Bundle Identifier
- Must match the one registered in the Developer Portal
- Format:
com.companyname.appname
- Version Number
- Must be a positive integer
- Increment with each update
- Build Number
- Must be a positive integer
- Should increment with each build
- App Name
- Must be between 1 and 50 characters
- Cannot contain prohibited words
App Metadata#
Prepare the following metadata for your app:
- App Icon
- 1024×1024 pixels (PNG)
- Must be square
- Should be clear and readable
- App Screenshots
- iPhone: 2732×2048 pixels (5.5-inch display)
- iPad: 2732×2048 pixels (12.9-inch display)
- Include at least 2 screenshots
- App Description
- Must be between 30 and 255 characters
- Include relevant keywords
- Highlight key features
- Privacy Policy
- Required for all apps
- Must be accessible from the App Store listing
Testing Your App#
Before submitting, thoroughly test your app:
- Unit Tests
- Ensure core functionality works
- Test edge cases
- Integration Tests
- Test with real devices
- Test with different iOS versions
- App Store Connect TestFlight
- Use TestFlight for beta testing
- Collect feedback from testers
Submitting to the App Store#
Once your app is ready, you can submit it to the App Store.
Step-by-Step Submission Process#
- Create App in App Store Connect
- Log in to App Store Connect
- Click "Add New App"
- Enter your app's bundle identifier
- Upload App Binary
- Build your app for distribution
- Upload the .ipa file to App Store Connect
- Fill Out App Metadata
- App name, description, keywords
- Category and sub-category
- Privacy policy URL
- Set Pricing and Availability
- Choose your pricing model
- Select countries where you want to distribute
- Submit for Review
- Review all requirements
- Submit for App Store Review
- Wait for Review
- Apple typically reviews apps within 24-72 hours
- You can track the review status in App Store Connect
Common Submission Issues#
- App Store Rejection Reasons
- Read the rejection email carefully
- Address all issues before resubmitting
- Common reasons include crashes, privacy policy issues, and missing metadata
- Review Delays
- Be patient during the review process
- Contact Apple Support if there are delays
Post-Submission and Maintenance#
After your app is approved, you need to manage its presence on the App Store.
Publishing Your App#
- Release to Production
- Set your app to "Ready for Sale"
- Choose your release date
- Monitor Performance
- Track downloads and ratings
- Monitor user feedback
- Update Regularly
- Fix bugs promptly
- Add requested features
- Update app metadata
App Store Optimization (ASO)#
Optimize your app listing for better visibility:
- Keywords
- Research relevant keywords
- Include them in your app description
- Metadata
- Use compelling app name
- Write engaging description
- Screenshots
- Update screenshots regularly
- Show new features
Troubleshooting Common Issues#
Common Problems and Solutions#
- Code Signing Errors
- Regenerate certificates if needed
- Update provisioning profiles
- Build Failures
- Check for missing dependencies
- Update to the latest React Native/Expo version
- App Store Rejection
- Read the rejection email carefully
- Fix all issues before resubmitting
- Performance Issues
- Optimize app startup time
- Reduce memory usage
Getting Help#
If you encounter issues:
- Apple Developer Forums
- Ask questions and get help from other developers
- Stack Overflow
- Search for existing solutions
- React Native/Expo Community
- Join Discord or other communities
Conclusion#
Deploying a React Native or Expo app to the Apple App Store is a multi-step process that requires careful planning and execution. By following the steps outlined in this guide, you can successfully navigate the entire deployment journey.
Remember that the App Store submission process is rigorous, but with proper preparation and attention to detail, you can get your app approved and available to users worldwide.
The key to success is:
- Proper Planning - Understand all requirements before starting
- Thorough Testing - Test your app thoroughly before submission
- Attention to Detail - Pay attention to metadata and requirements
- Patience - The review process takes time
Good luck with your App Store deployment!
This guide covers the deployment process for both React Native (bare workflow) and Expo (managed workflow). For specific issues with your particular setup, consult the official documentation for your framework.
Share this post
Stay Updated
Get the latest posts delivered straight to your inbox.


![Adding environment variables to the runtime in Nuxt3 [Beta]](https://res.cloudinary.com/ddszyeplg/image/upload/v1642350413/vantol/black-text_emxagi.png)